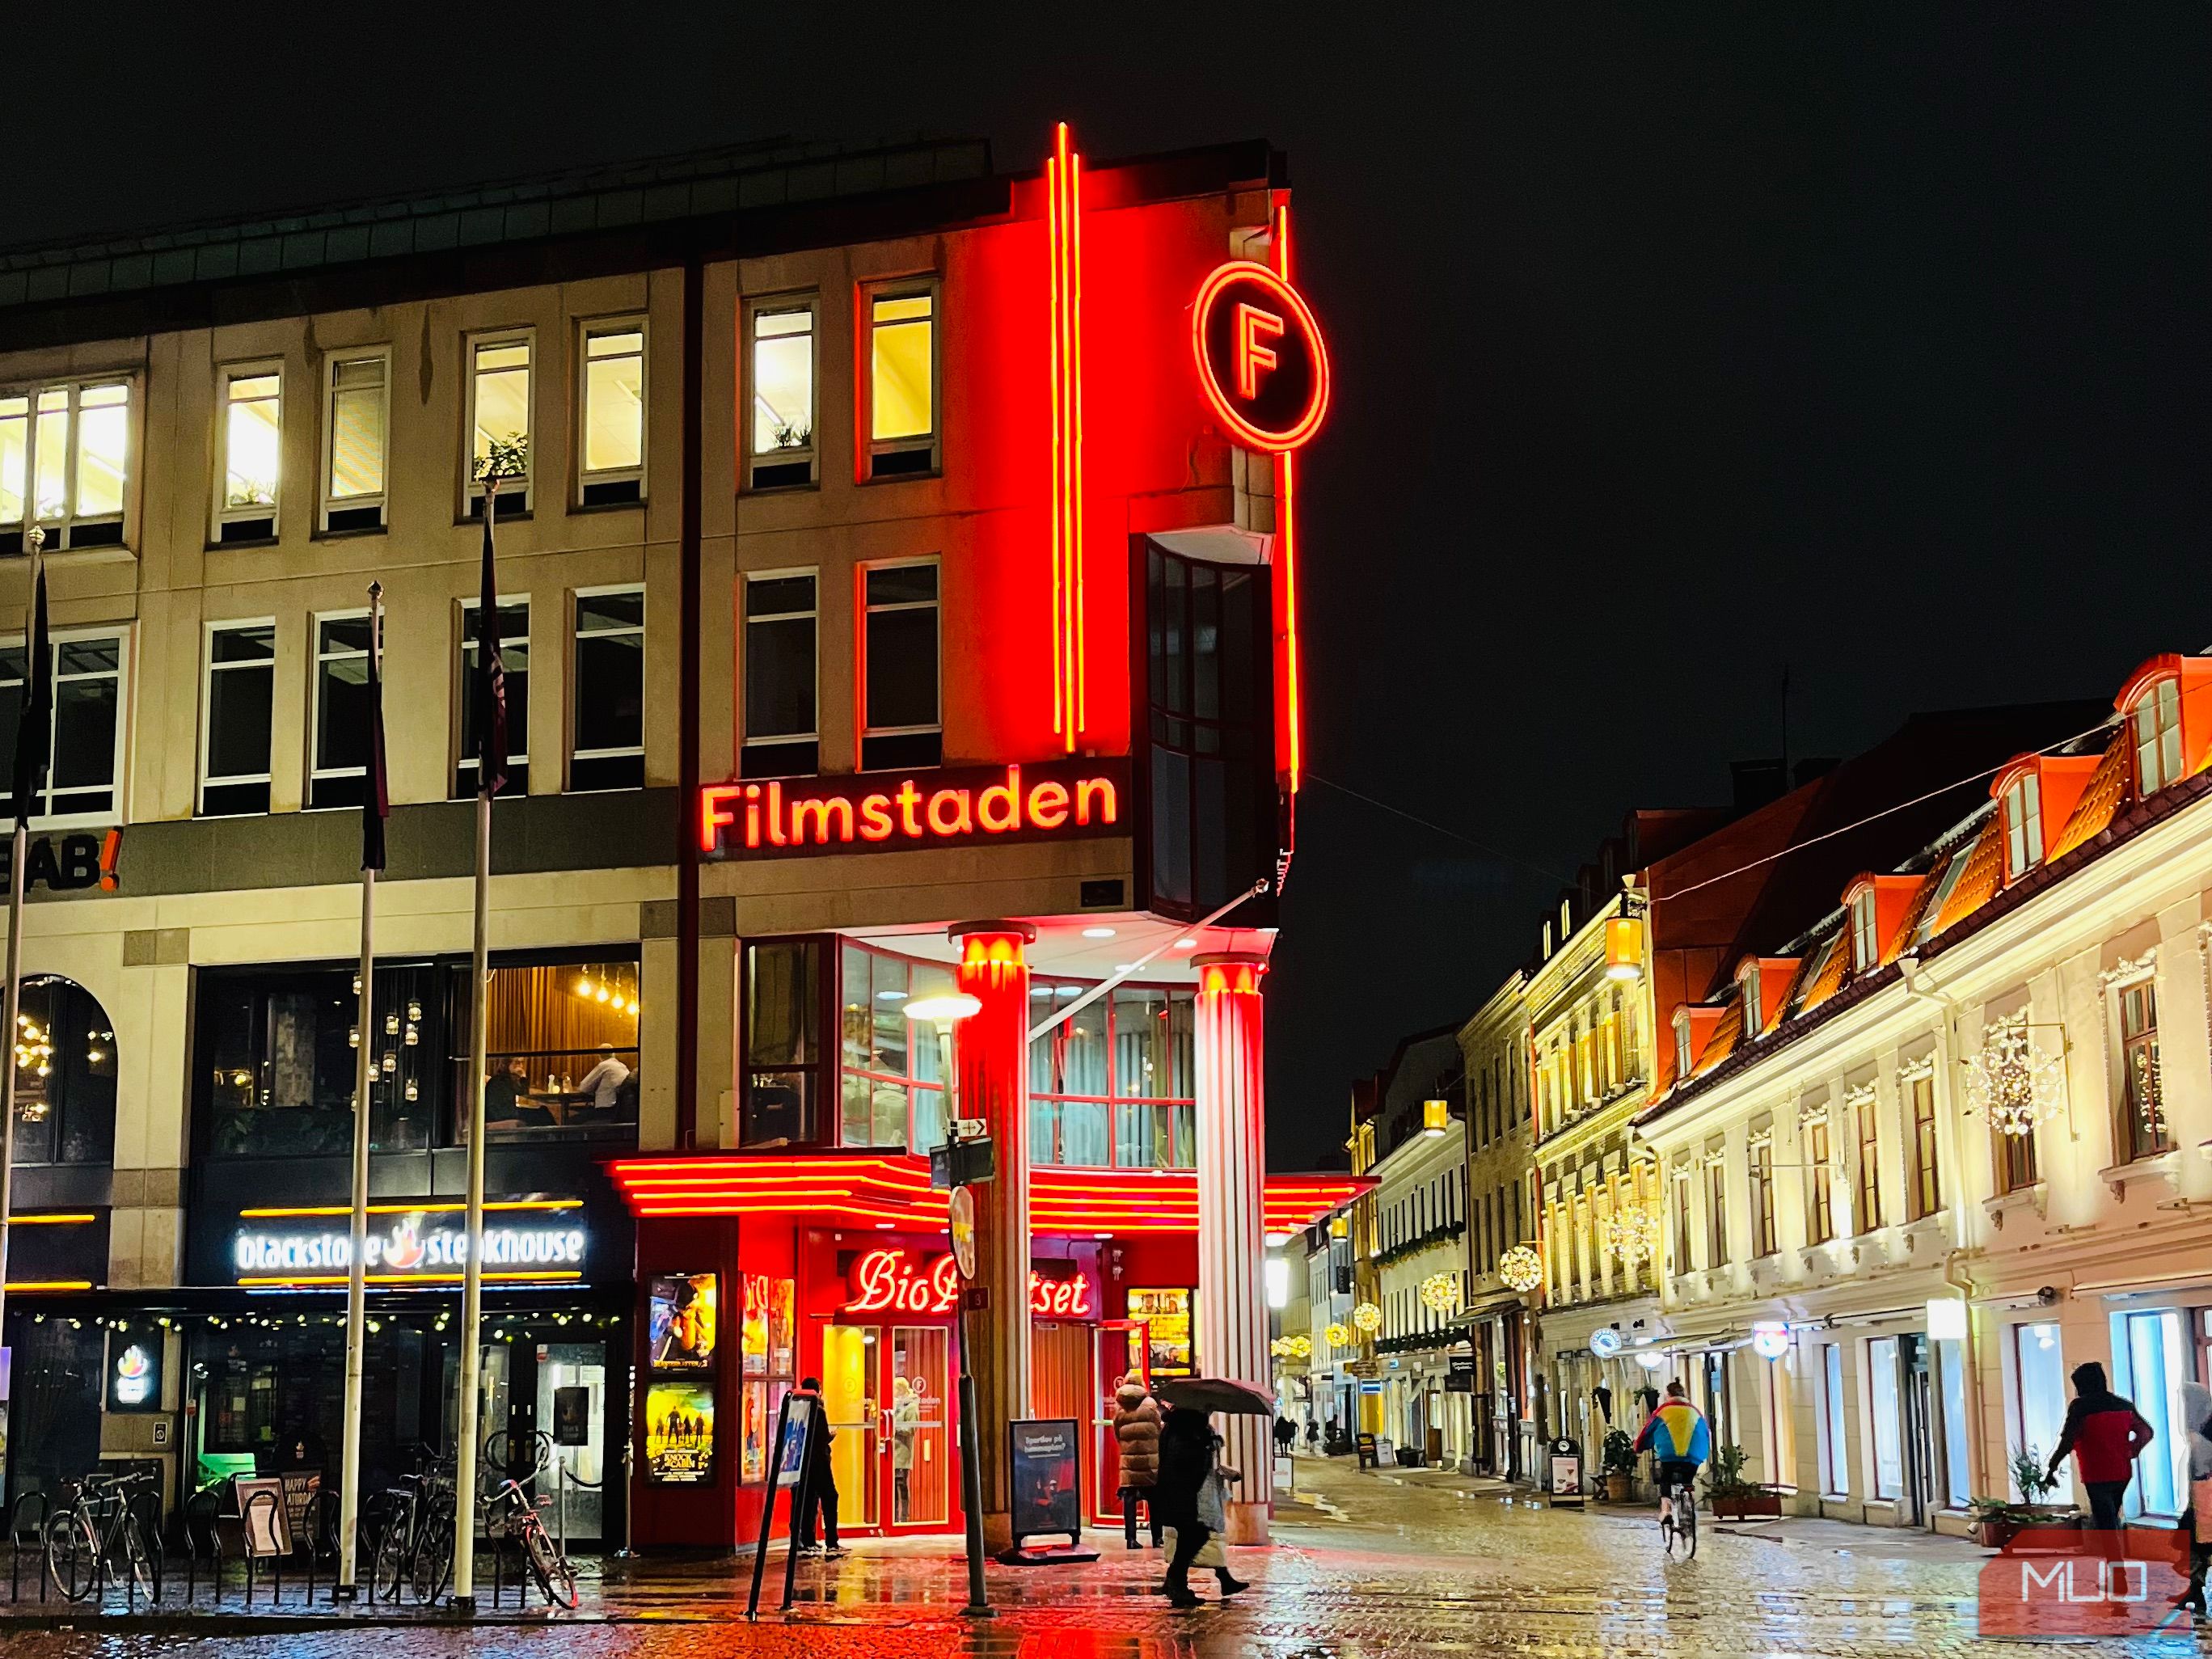
Mirrors and reflections are a powerful way to add another dimension to smartphone photos, I use them in several ways for more creative shots. Besides utilizing my surrounding environment, I also change a couple of settings on my smartphone camera for the best results.
1 Turning On the Camera Grid
I can’t say this enough: switching on your smartphone’s camera grid is one of the easiest ways to improve your smartphone photos. When you switch on this feature, you’ll find it much easier to get your composition right.
Turning on my camera grid lets me determine where I want reflections to feature in my picture. It doesn’t matter which form of composition I use; the rule of thirds is an all-time classic, of course, but the grid also makes it easy to create a foreground, middle, and background.
On most smartphones, you should find a feature to turn on your camera grid within your device settings. Besides simply switching it on, I also learned which smartphone camera grid type is best.
2 Making Leading Lines Thinner in Waterways
Leading lines is probably my favorite photo composition style, and I use it more than almost anything else. One of the ways I do this with reflections and mirrors is by thinking about how I can change what different waterways look like. This is incredibly difficult as you don’t always have symmetry, but nonetheless, it can lead to some interesting results.
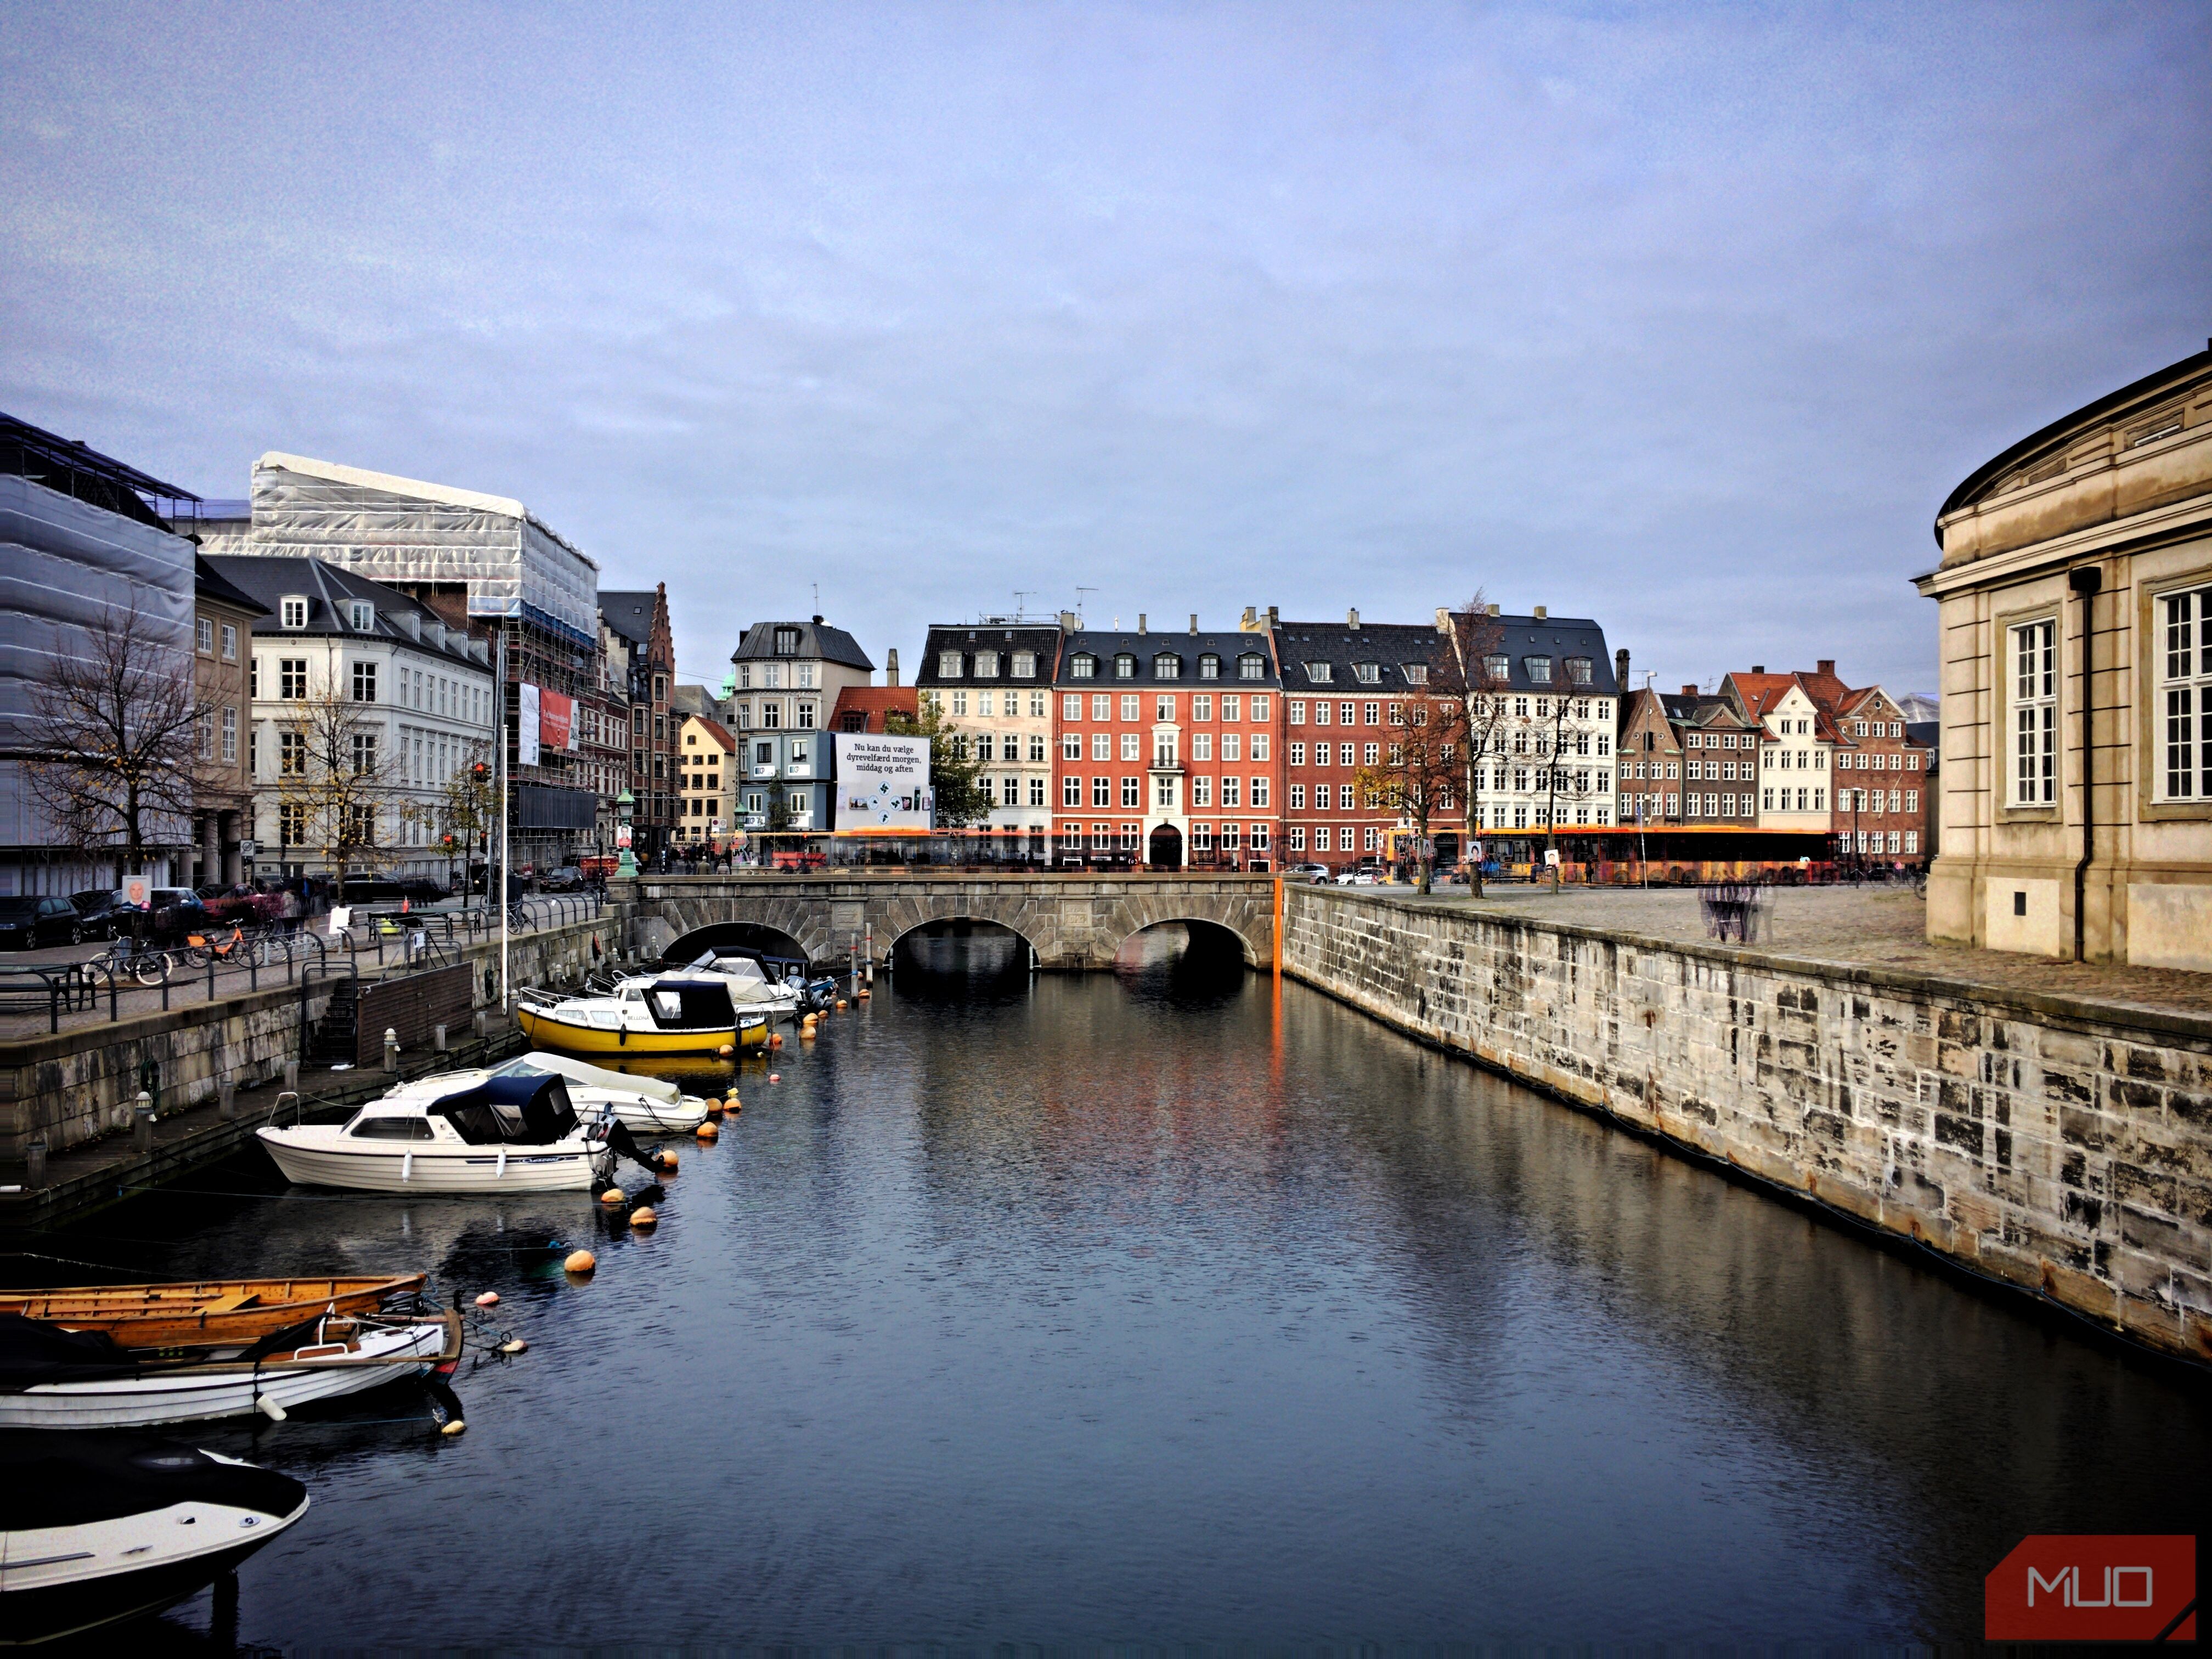
I’ll often use a variety of objects to make my leading lines thinner, especially in wider waterways. For example, in the picture below, I used the walls and buildings lining the canal to make the space in the middle seem smaller.
I don’t mind too much if the patterns are symmetrical or not; the most important thing to me is making the middle space look smaller. Knowing how to take stunning photos of water bodies will also help you here.
3 Using Mirrors to Reflect Something You Can’t See in the Picture
You might have used mirrors to reflect things that were already in the picture before, and this will work pretty well in most scenarios. But why not take things up a notch and try using mirrors to showcase things that you can’t see in the image? This is precisely what I do in some of my photos, and it often adds a unique dimension.
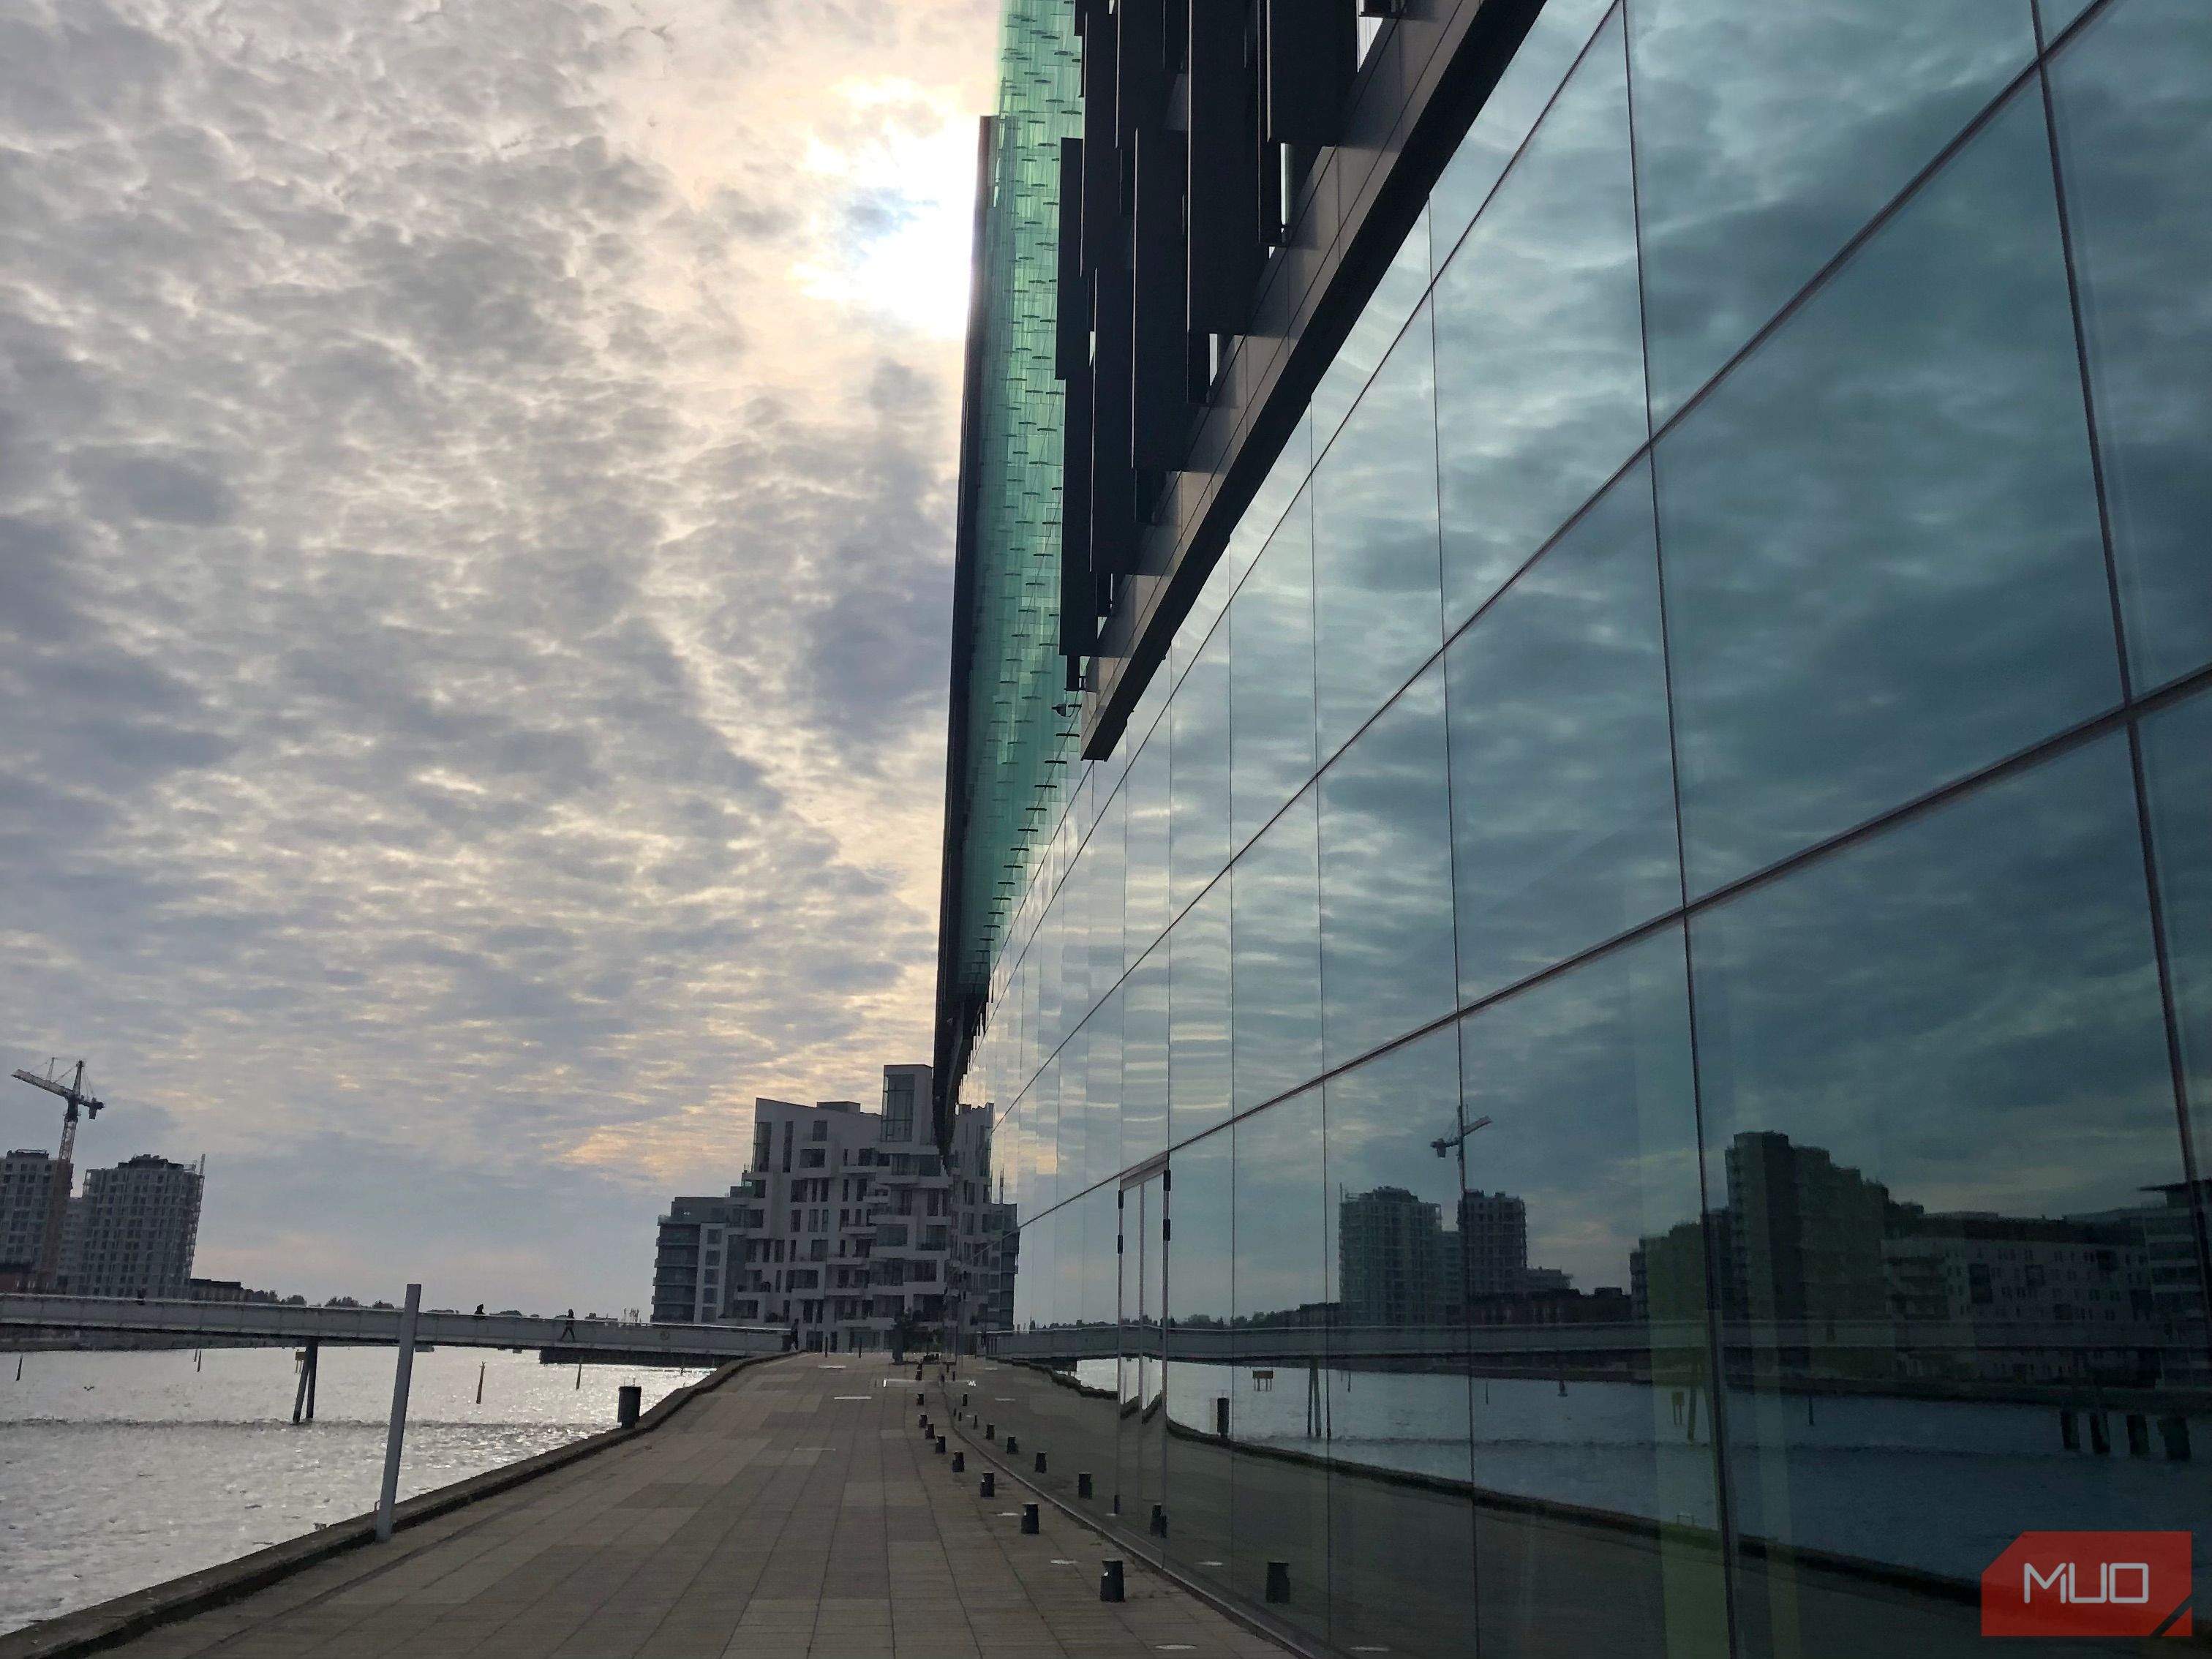
This type of photography works well when there’s a subject directly adjacent to the mirror or window, and I prefer doing it in urban areas. For example, in the photo below, I wanted to include the buildings on the other side of the water that you otherwise wouldn’t have seen.
Although I suggest using this photographic effect in urban settings, you can also get good results by trying it in more natural environments. Using reflections is one of many ways that I get great smartphone photos.
4 Preserving the Night Mode Settings for Nighttime Reflections
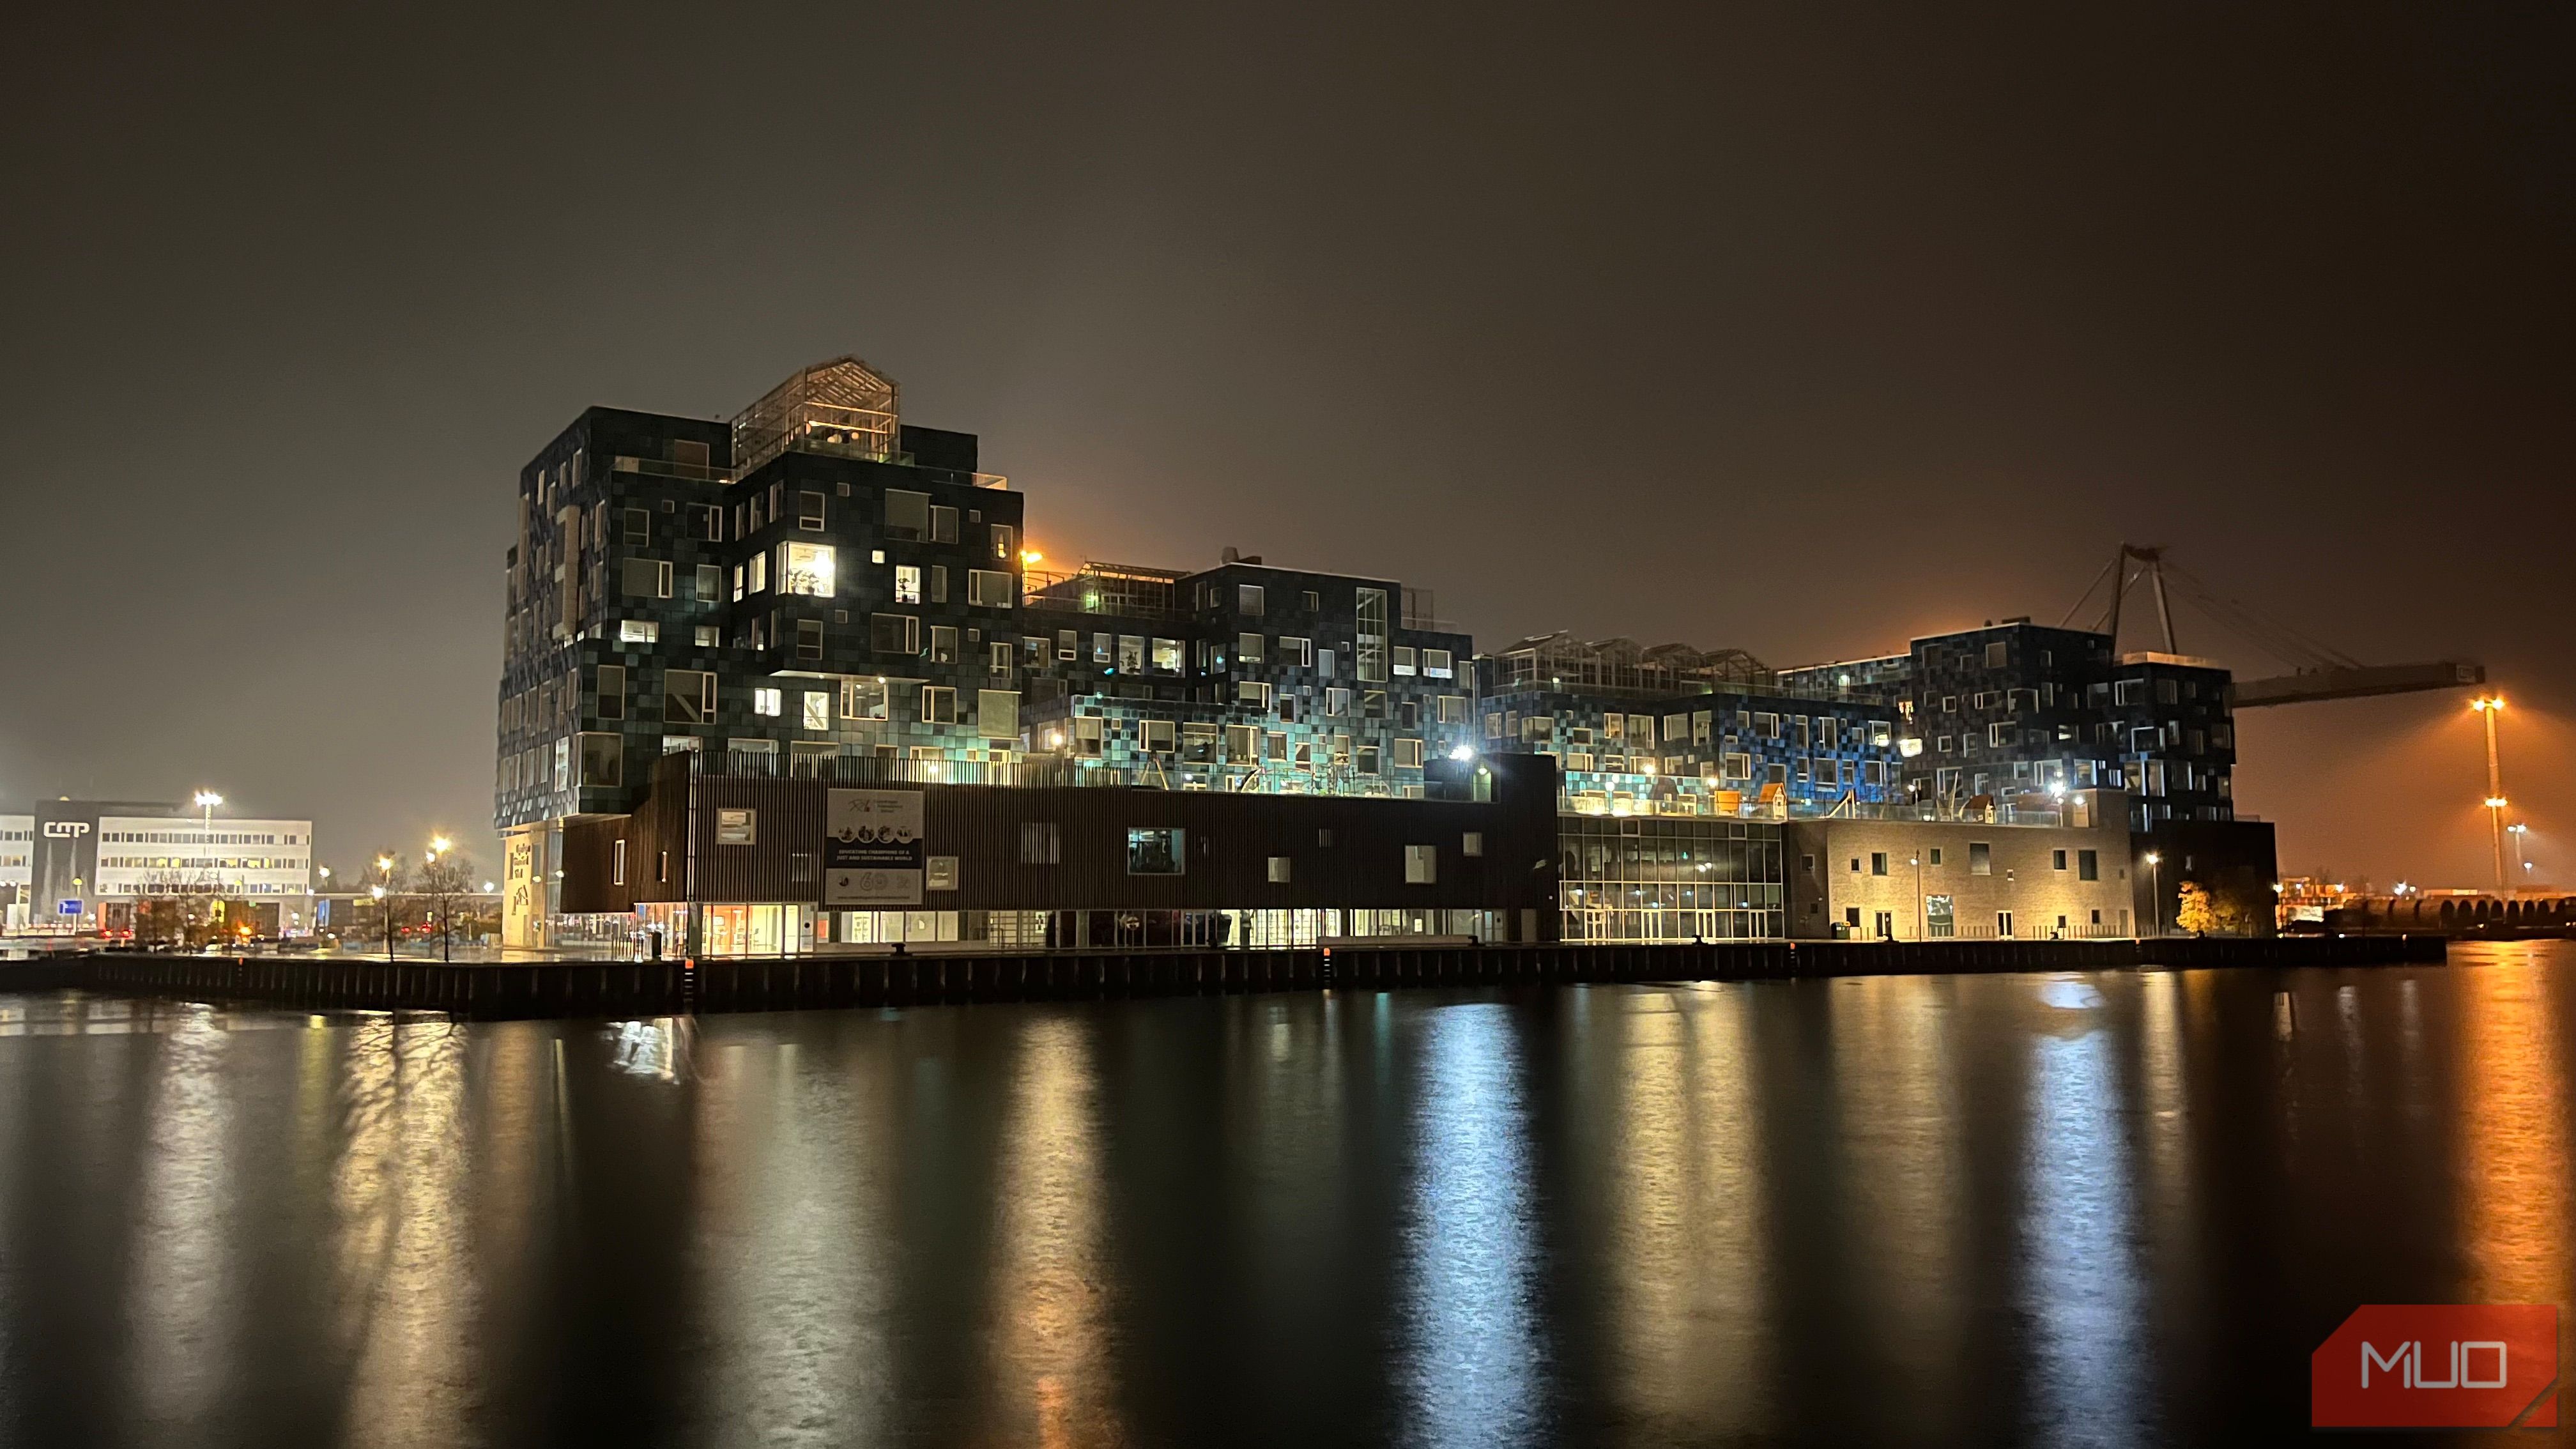
Night Mode is one of my iPhone camera’s most underrated features. When you use this feature, your device will compensate in low-light situations in various ways, such as adding more light. You’ll also see more detail in your images; this was one of the most notable differences I saw after upgrading from an iPhone 8 Plus to an iPhone 13 in 2022.
If you’re trying to capture reflections at night, preserving your Night Mode settings will save you from having to customize everything again later.
To find this feature:
- Open the Settings app and go to Camera > Preserve Settings.
- Look for the Night Mode toggle.
- Switch the Night Mode toggle on and return to the Camera app.
5 Allowing Light to Shine Into the Windows
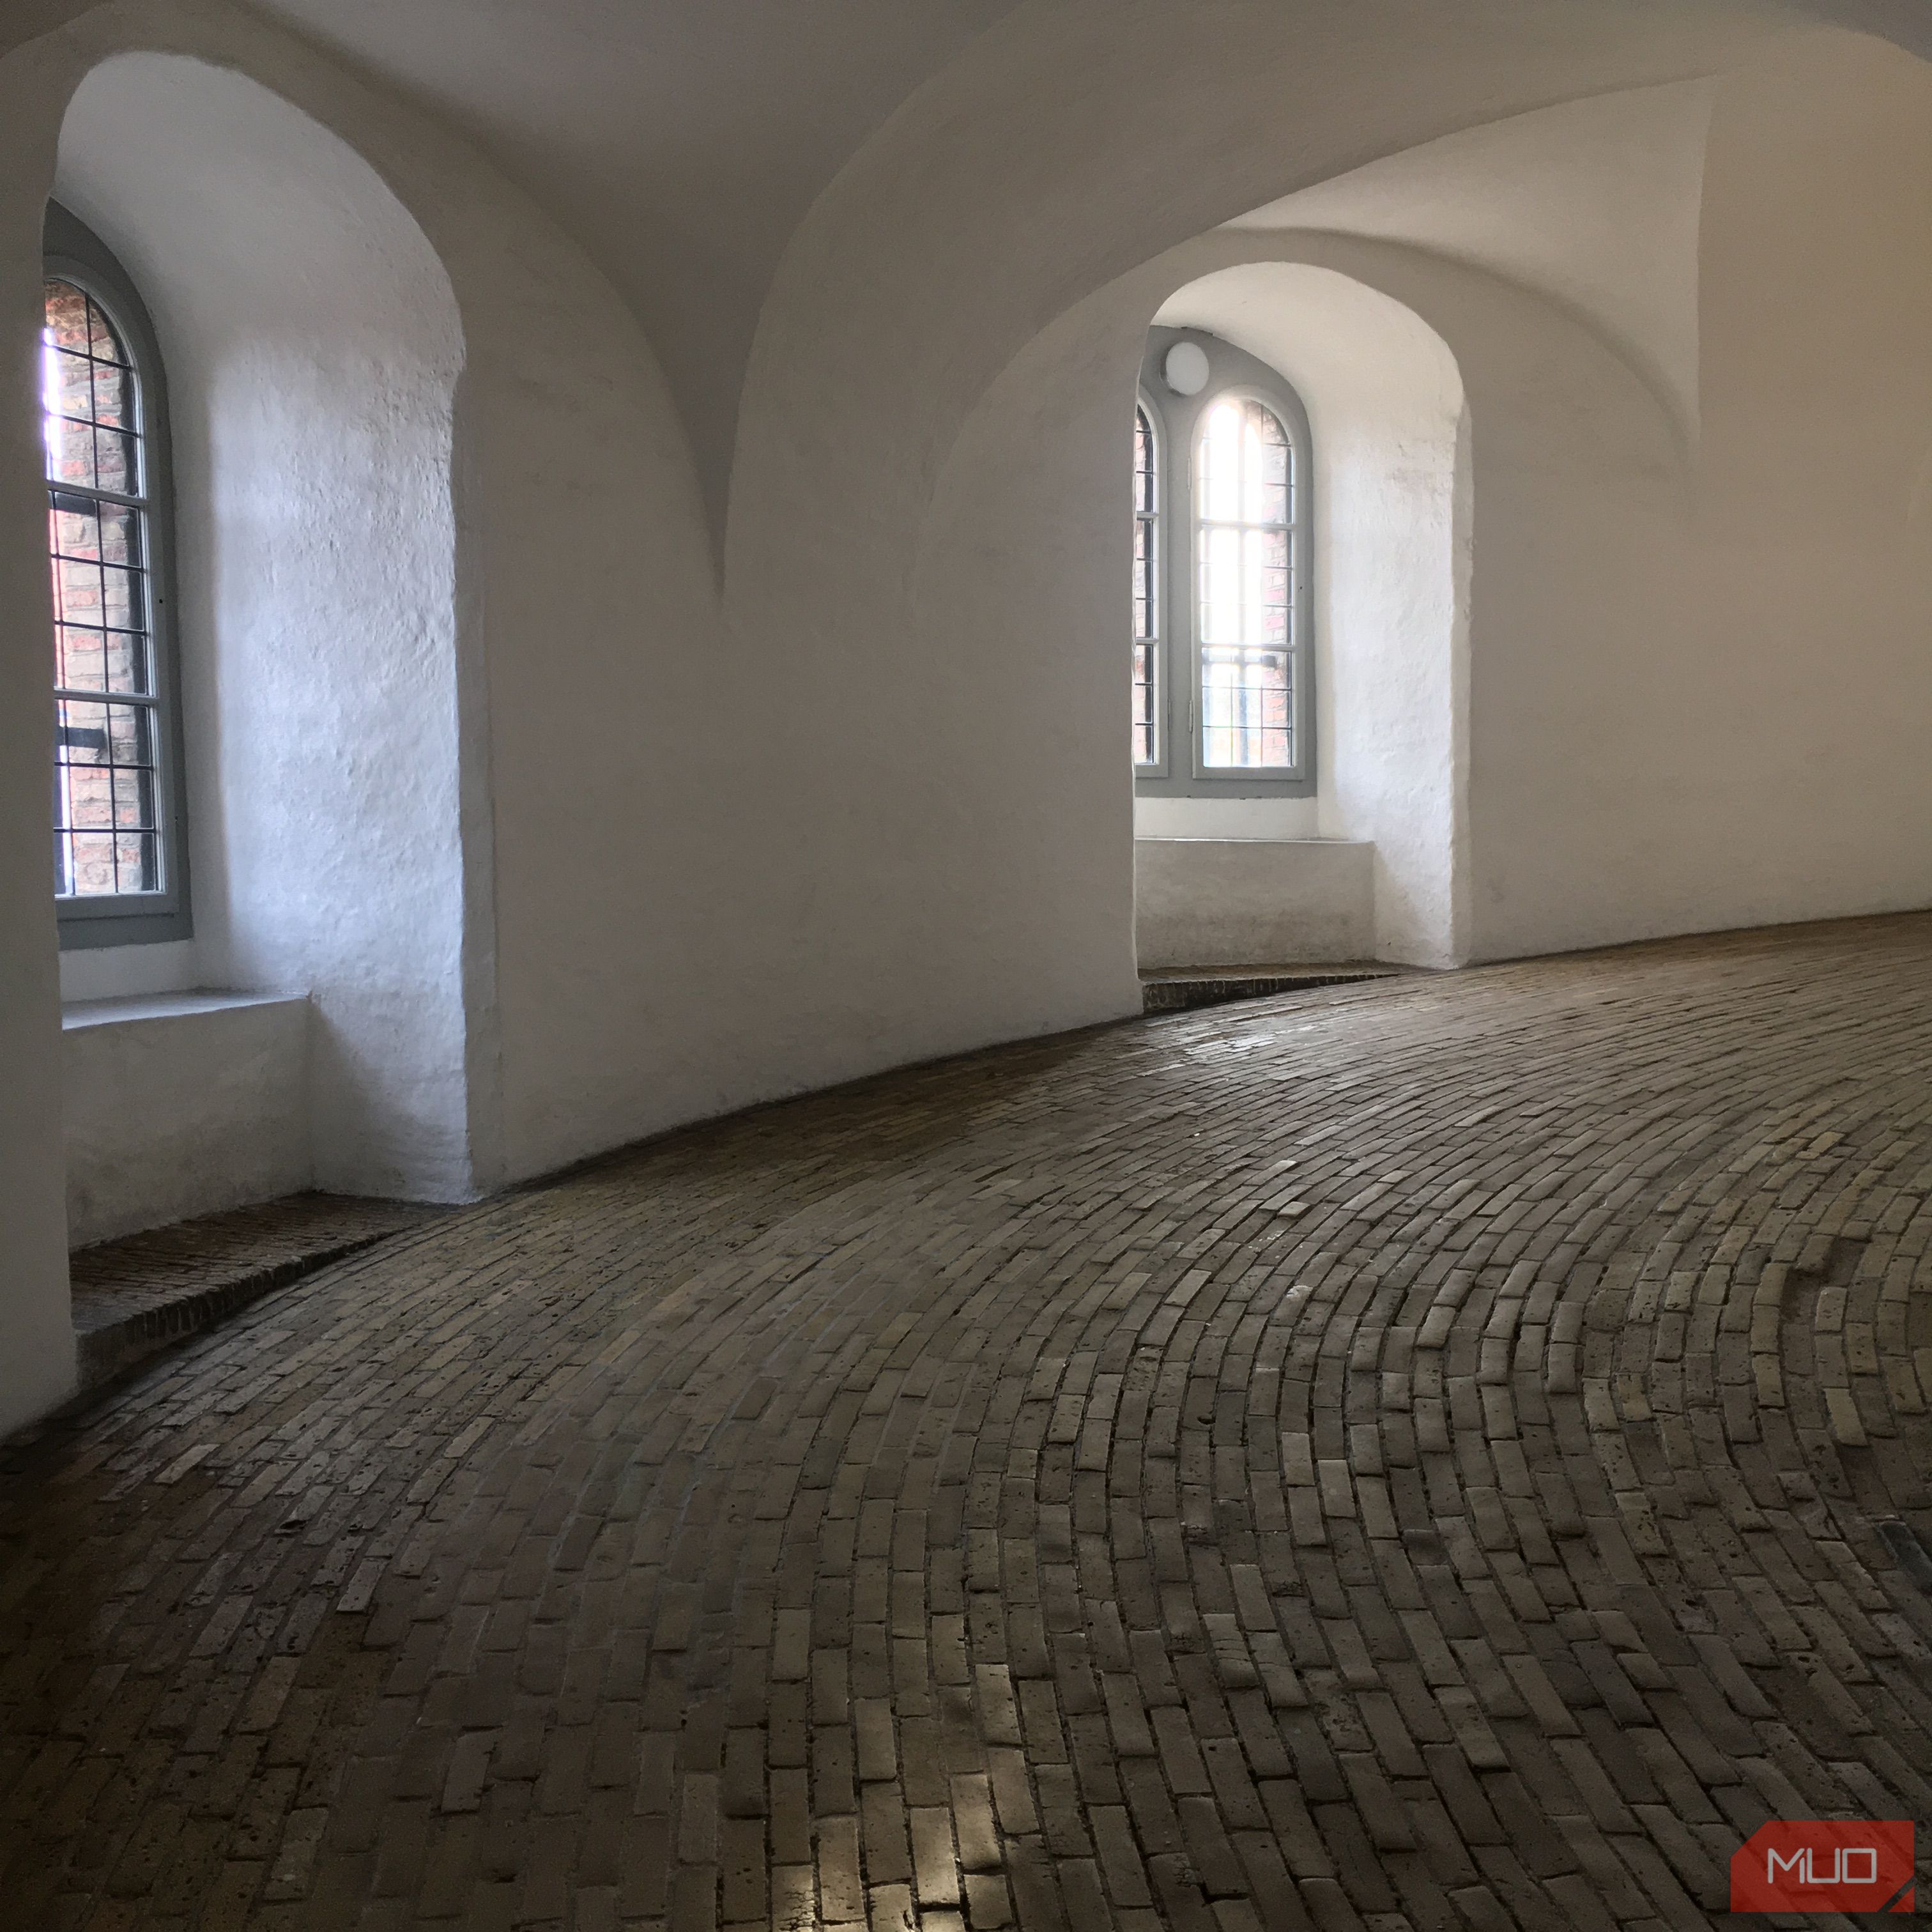
In the same way that you would use filters to diffuse light coming into a camera lens, I think it’s worth looking at ways to make light softer in your reflection images. Allowing light to shine through windows is one way to do this.
Depending on the building you’re in, there’ll be certain times of the day when the light goes through the windows. Much will depend on where and when the sun sets in your location; I like thinking about how to use this kind of effect in the winter when daylight hours are short and the lighting is softer.
6 Creating a Foreground, Middle, and Background
Utilizing the foreground, middle, and background is one of the most underrated photo editing techniques. When facing something that you think is quite interesting, I suggest using this method. For example, you could use the grass in front of you as your foreground, a lake with a reflection as the middle, and a mountain as your background.
This doesn’t really work if your desired main subject is on the side. If your main subject isn’t in front of you, the image can start to look disjointed. While you can overlay and combine two images on your phone, it’s easier—and more rewarding—to get it right as you’re taking the shot.
7 Using Mirrors and Windows for Framing
If you’re out and about, you might want to consider using mirrors and windows—along with their reflections—to creatively frame your photos.
You can do this in several ways. For example, you could use a window or mirror as part of a broader picture; I like using windows to exemplify details on the side of buildings. If you’re inside, you might also want to use your own windows and mirrors as framing for your images.
Different-sized windows and frames will have varying effects, so I encourage you to experiment and see what works for you. Learning how to take better architectural smartphone photos is also helpful here.
8 Placing a Subject in the Middle of Reflections
Another way to creatively use reflections in your images is by placing a subject in the middle of them. For example, if you’re capturing reflections on a river, you could wait for a bird to swim through the middle or a boat to pass by.
Smartphone cameras are often not so good at picking up smaller details, which is why I recommend using bigger subjects where possible. This effect works particularly well when there’s a good amount of light shining on the body of water, and for this reason, I recommend capturing your shots around golden hour or with artificial lights at night.
Mirrors, windows, and reflections are all excellent ways to add more depth to your smartphone photos. You can utilize what reflects off them in several ways, including bringing elements into your picture that weren’t previously visible. Moreover, you can be very creative with where you place your subjects in reflection photos.


